

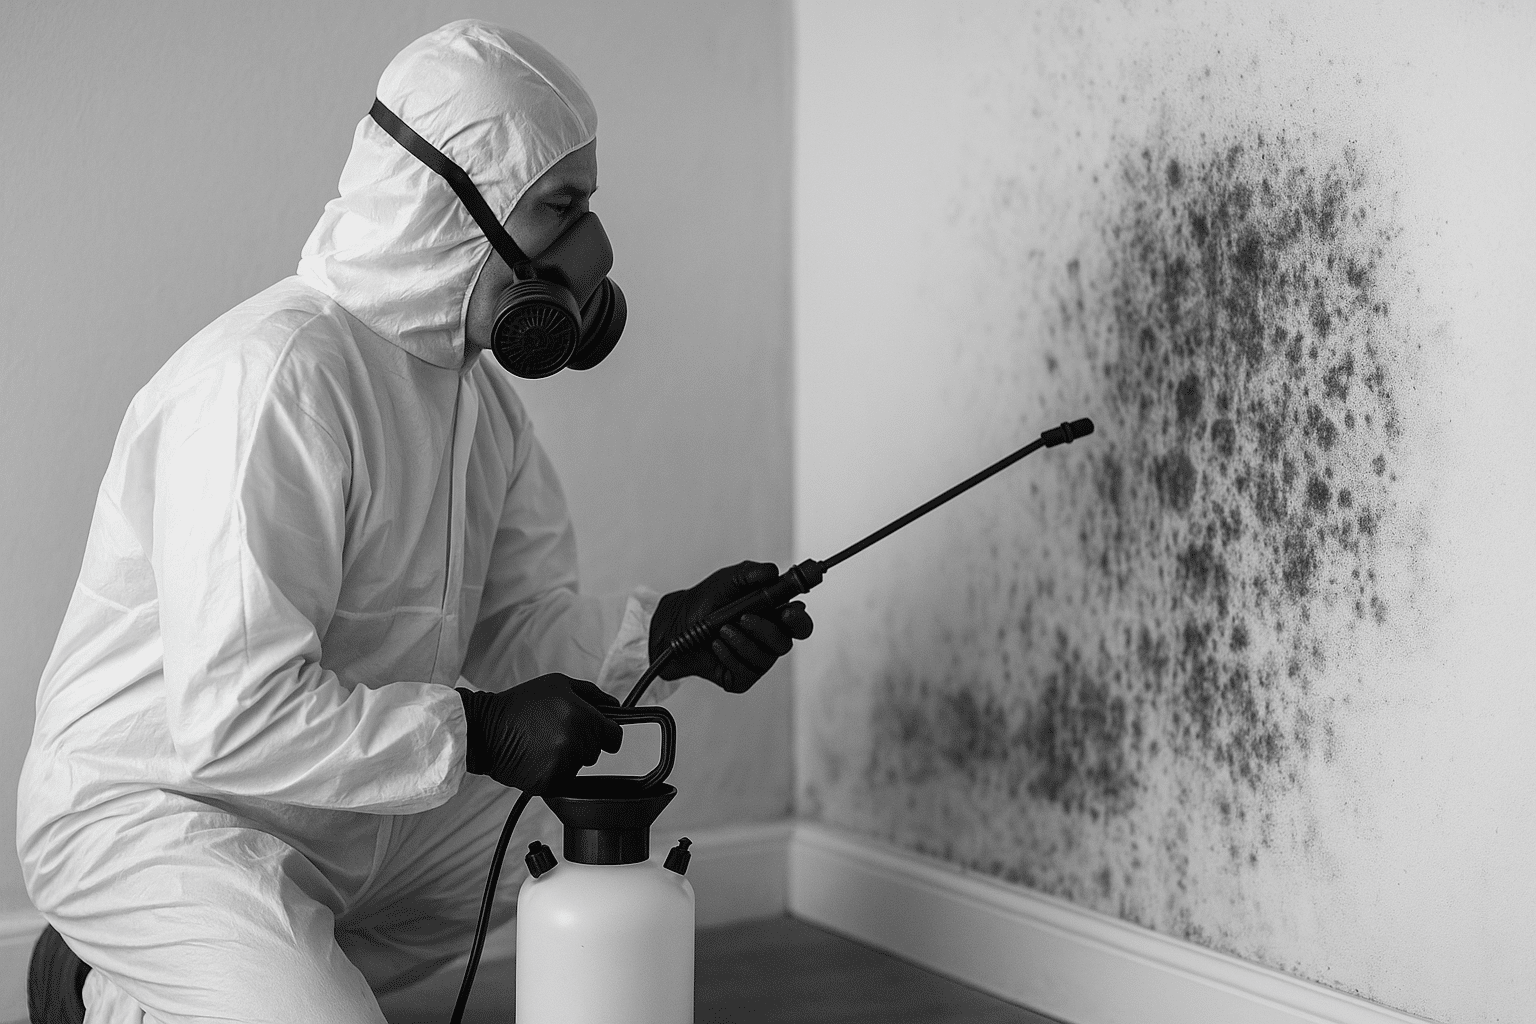
Hidden Contamination Investigation Using Thermal Imaging
Hidden Contamination Investigation Using Thermal Imaging – Setting Up Your Thermal Imaging Equipment
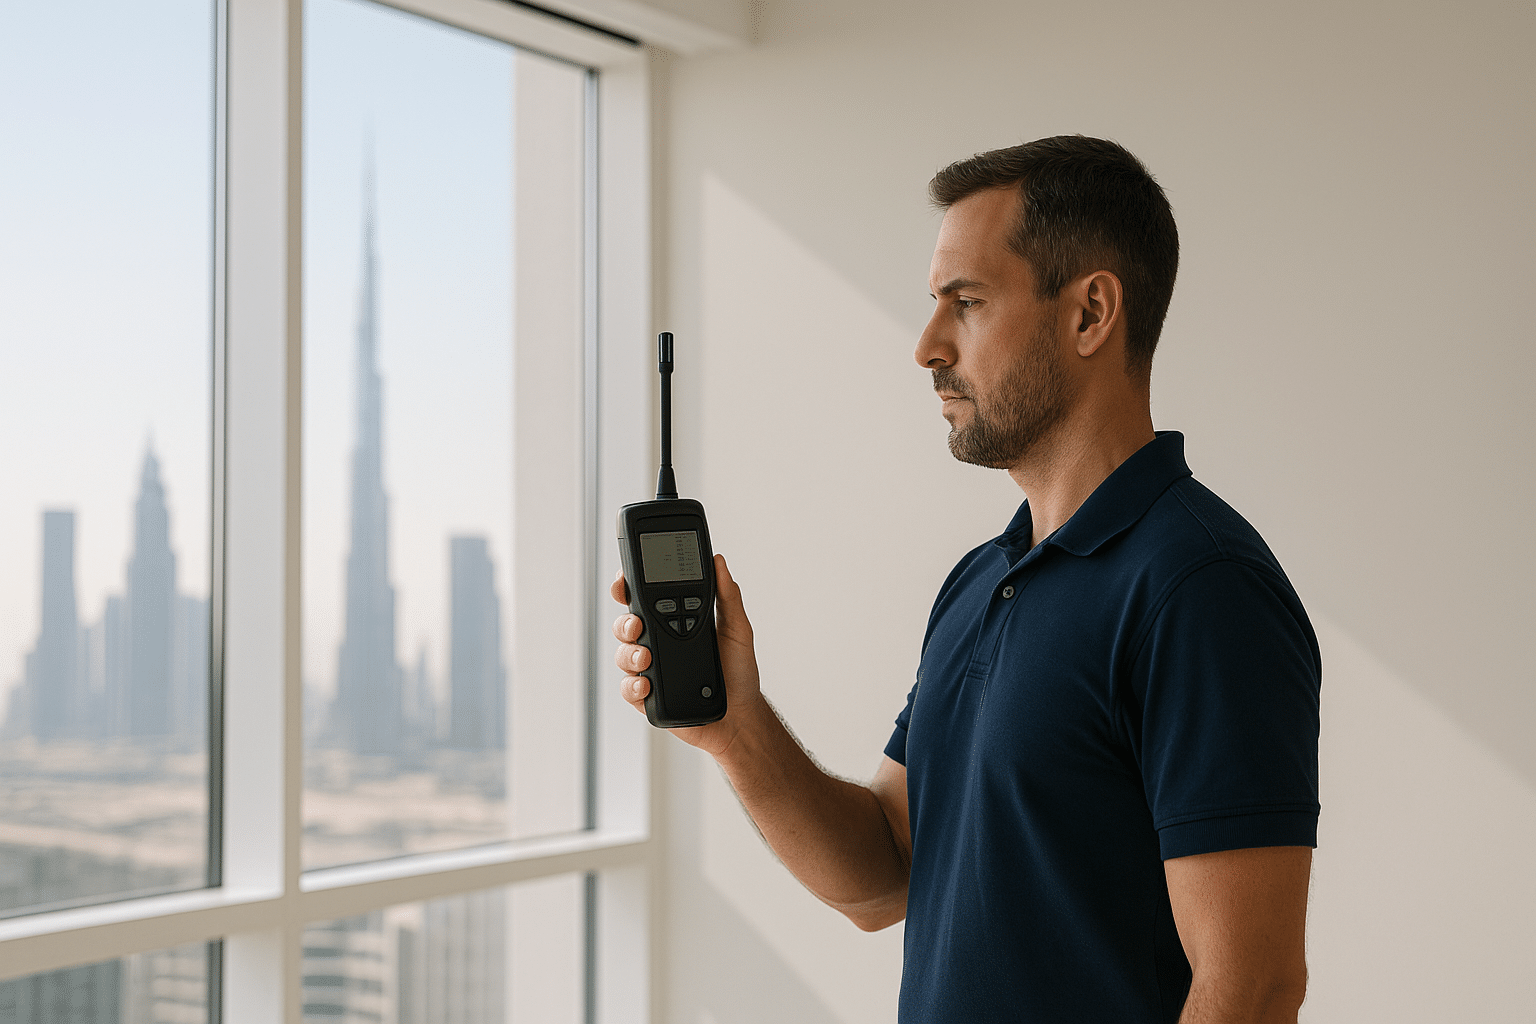
Before you begin your investigation, it’s crucial to ensure that your thermal imaging equipment is properly set up and calibrated. Here’s what you need: This relates directly to Hidden Contamination Investigation Using Thermal Imaging.
- Thermal Imager: Choose a high-resolution device with adjustable temperature settings.
- Power Supply: Ensure a reliable power source, especially for long-duration inspections.
- Laptop or Tablet: For data collection and analysis.
- Accessories (optional): Extension poles, protective covers to avoid damage during setup.
Ensure your thermal imager is calibrated correctly before use. Calibration ensures accurate temperature readings, which are vital for identifying hidden contamination effectively.
Hidden Contamination Investigation Using Thermal Imaging – Initial Inspection and Data Collection
The first step in any investigation is to gather as much data as possible from the initial inspection. Start by:
- Documenting Visible Signs: Take note of any visible signs that could indicate hidden contamination, such as musty odors or water stains.
- Mapping the Environment: Create a map of the area to be inspected. This helps in organizing your data and understanding the layout during analysis.
Once you have documented initial observations, begin using your thermal imaging equipment to capture baseline images across different areas of the property.
Interpreting Thermal Imaging Data for Hidden Contamination
Interpreting thermal imaging data requires both technical skill and a deep understanding of what you’re looking for. Follow these steps to analyze your images:
- Identify Temperature Anomalies: Look for areas where the temperature is significantly different from surrounding regions.
- Correlate with Humidity: Higher humidity levels can cause condensation, leading to mold growth or water damage. Check if there are any moisture-related anomalies in your data.
- Analyze Material and Construction Issues: Certain building materials and construction techniques can create thermal bridges, which may indicate hidden issues. Compare these with the initial inspection notes for a more comprehensive analysis.
Remember to take multiple images from different angles to ensure accurate data collection. This helps in identifying complex issues that might be missed by single-angle shots.
Case Study Examples: Real-World Applications of Thermal Imaging
To illustrate the effectiveness of thermal imaging, let’s look at a few case studies from real-world applications:
Case 1: Hidden Mold Behind Walls in a Dubai Villa
A client approached Saniservice with concerns about persistent musty odors. After conducting an initial inspection and collecting baseline data using the thermal imager, we discovered hidden mold growth behind skirting boards. When considering Hidden Contamination Investigation Using Thermal Imaging, this becomes clear.
The images clearly showed temperature anomalies where moisture was accumulating. Post-remediation verification confirmed the accuracy of our initial findings, and the client reported a significant improvement in indoor air quality.
Case 2: Water Leak Under Floors in an Abu Dhabi Office Building
During a routine inspection at an office building, we identified unusual temperature patterns under the floorboards. Upon further investigation, we found a hidden water leak that had caused extensive damage to the subflooring.
The thermal images highlighted where moisture was condensing, leading us to pinpoint the source of the leak. By addressing this hidden issue early on, we prevented further damage and saved the client significant costs.
Expert Tips for Conducting Effective Investigations
To ensure your investigation is as thorough and accurate as possible, follow these expert tips:
- Regular Calibration: Regularly calibrate your thermal imager to maintain accuracy.
- Multiple Angles: Take images from multiple angles to capture comprehensive data.
- Document Everything: Keep detailed records of all findings and observations during the inspection process.
- Collaborate with Other Specialists: Work closely with building engineers, HVAC technicians, and other specialists for a holistic approach.
By following these tips, you can enhance the effectiveness of your investigation and ensure that no hidden contamination goes undetected. The importance of Hidden Contamination Investigation Using Thermal Imaging is evident here.
FAQ Section: Common Questions about Hidden Contamination Investigation Using Thermal Imaging
Q1: Can thermal imaging detect all types of hidden contamination?
A1: While thermal imaging is highly effective for identifying moisture-related issues, it may not detect certain contaminants like asbestos or lead paint. A combination of methods is often necessary to cover all potential risks.
Q2: How accurate are the results from a thermal imaging investigation?
A2: The accuracy of the results depends on several factors, including calibration and the experience of the operator. Proper training and adherence to best practices can significantly enhance the reliability of your findings.
Q3: Is thermal imaging suitable for all types of buildings or environments?
A3: Thermal imaging works well in most indoor environments but may have limitations in very large, complex structures or those with highly reflective surfaces. For best results, consider the specific characteristics of your building before starting an investigation.
Conclusion: Key Takeaways from This Guide
Conducting a thorough Hidden Contamination Investigation using thermal imaging is a powerful tool for identifying and addressing issues that can affect indoor air quality and overall health. By following the steps outlined in this guide, you can enhance your ability to detect hidden problems early on.
Remember to:
- Set up your equipment correctly before beginning any inspection.
- Collect comprehensive data during the initial inspection and analyze it carefully using thermal imaging techniques.
- Collaborate with other specialists to ensure a holistic approach to investigation and remediation.
By doing so, you can protect your indoor environment from hidden contamination and promote the health and well-being of occupants. For more detailed insights and practical applications, refer back to this guide as needed. Understanding Hidden Contamination Investigation Using Thermal Imaging is key to success in this area.
JV de Castro, IAC2
JV de Castro is the Chief Technology Officer at Saniservice, where he leads innovation in indoor environmental sciences, IT infrastructure, and digital transformation. With over 20 years of experience spanning architecture, building science, technology management, digital media architecture, and consultancy, he has helped organizations optimize operations through smart solutions and forward-thinking strategies. JV holds a Degree in Architecture, a Masters of Research in Anthropology, an MBA in Digital Communication & Media, along with certifications in mold, building sciences and advanced networking. Passionate about combining technology, health, and sustainability, he continues to drive initiatives that bridge science, IT, and business impact.

Leave a Reply