


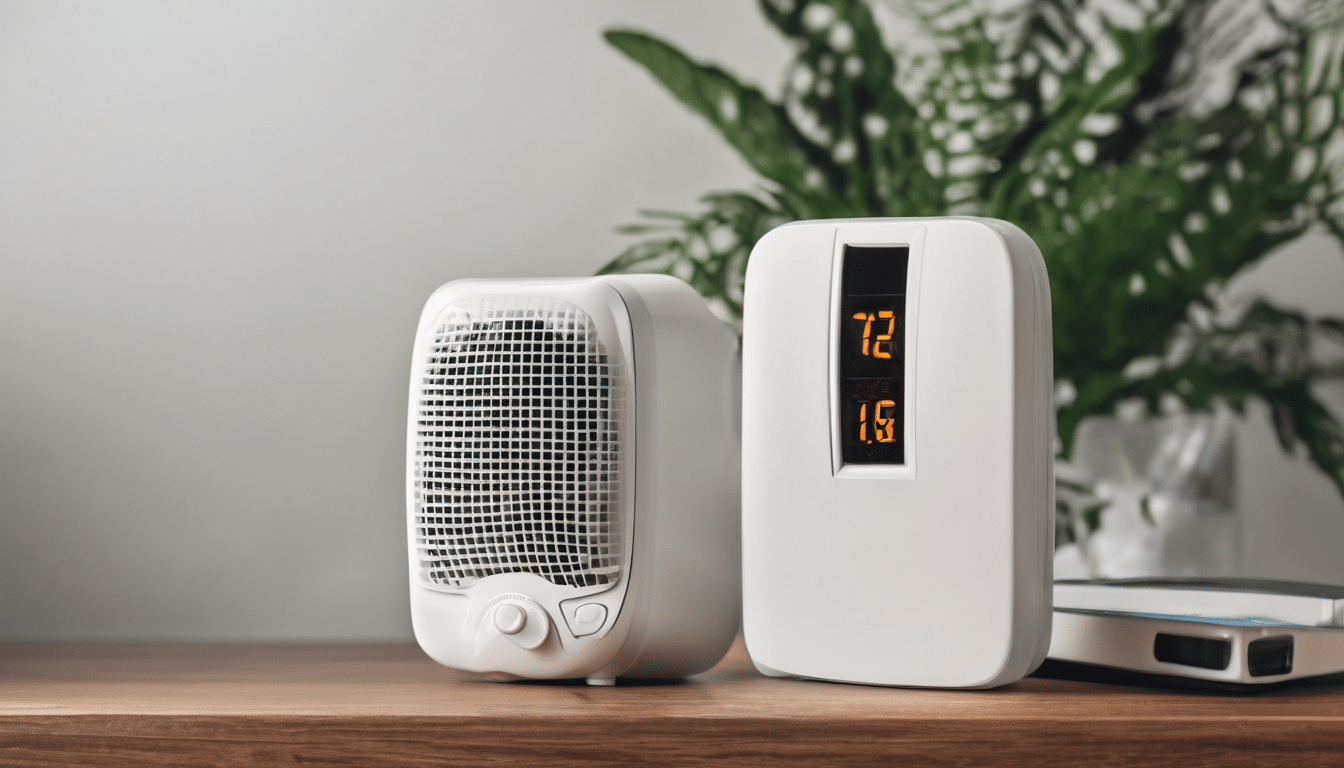
Install Indoor Air Quality Sensors In Homes
<h2 id=”understanding-how-to-install-indoor-air-qual”>Understanding How to Install Indoor Air Quality Sensors in Homes
Understanding Install Indoor Air Quality Sensors In Homes is essential. Indoor air quality sensors play a vital role in detecting and measuring various pollutants, such as particulate matter (PM), volatile organic compounds (VOCs), carbon dioxide (CO2), and even mold spores. By installing these sensors, you can gain real-time data on the air quality within your home, enabling you to take proactive steps to improve it.
In this comprehensive guide, we will walk you through 12 essential steps to install indoor air quality sensors in your home effectively. Whether you live in Dubai, Abu Dhabi, or any other part of the UAE, these instructions will help you create a healthier and more comfortable living environment. This relates directly to Install Indoor Air Quality Sensors In Homes.
Install Indoor Air Quality Sensors In Homes – Step 1: Materials Required for Installation
To install indoor air quality sensors, you will need the following materials:
- Indoor air quality sensors (choose from a reputable manufacturer)
- Power supply unit if your sensor requires it
- Cables and wires for connecting sensors to power source or network
- Rubber mounts or adhesive pads for mounting sensors on surfaces
- Screwdrivers, tape, and other tools needed for installation
- Smartphone or computer with the corresponding app or software for sensor configuration
Install Indoor Air Quality Sensors In Homes – Step 2: Choosing the Right Location to Install Sensors
Proper location selection is crucial to ensure accurate readings. Place sensors in areas that are representative of your home’s overall air quality, such as:
- Main living areas (living room, kitchen)
- Bedrooms and sleeping areas
- Areas near sources of pollution (like cooking zones or HVAC systems)
- Areas with high humidity levels (bathrooms, basements)
Avoid placing sensors in areas with direct sunlight, extreme temperature fluctuations, or strong airflow from air conditioning vents.
Step 3: Preparation of the Installation Space
Before installing the sensor, prepare the space by:
- Cleaning the surface where you will mount the sensor to ensure a secure fit.
- Making sure there is enough electrical access if your sensor requires it.
- Checking for any obstructions that might interfere with air flow or signal transmission.
This preparation ensures that the sensors can read accurately and provide reliable data.
Step 4: Mounting the Sensor Device
Mount the sensor securely by:
- Selecting a suitable surface (wall, ceiling, or floor).
- Using rubber mounts or adhesive pads to prevent damage.
- Ensuring the sensor is level and properly positioned.
Securely attach the sensor with screws if necessary. Follow the manufacturer’s instructions carefully to ensure proper installation.
Step 5: Connecting Power Supply and Wiring
Connect the power supply and wiring according to your sensor’s requirements: When considering Install Indoor Air Quality Sensors In Homes, this becomes clear.
- If using a power adapter, plug it into an electrical outlet.
- For wireless sensors, ensure they are within range of your Wi-Fi network.
- Secure any exposed cables or wires properly to avoid tripping hazards.
This step ensures that the sensor is powered and ready for operation.
Step 6: Configuring the Sensor with Your Smartphone or Computer
Configure the sensor using your smartphone or computer:
- Download the appropriate app from the App Store or Google Play.
- Follow on-screen instructions to connect the sensor to your device.
- Set up monitoring alerts and data collection preferences as needed.
This configuration step ensures that you can monitor the air quality in real-time.
Step 7: Calibration of the Sensors
Calibrate your sensors to ensure accuracy: The importance of Install Indoor Air Quality Sensors In Homes is evident here.
- Follow the manufacturer’s instructions for calibration.
- If no specific instructions are provided, refer to general guidelines on calibrating air quality sensors.
- Periodically re-calibrate the sensor as per the manufacturer’s recommendations to maintain accurate readings.
Calibration ensures that your sensor provides reliable and accurate data.
Step 8: Setting Up Monitoring Alerts
Set up monitoring alerts for specific pollutants:
- Configure the app to send notifications when air quality levels exceed safe thresholds.
- Choose which pollutants you want to monitor and set custom alert limits.
- Review and adjust your settings as needed based on your home’s unique conditions.
Monitoring alerts help you stay informed about potential air quality issues.
Step 9: Data Collection and Analysis
Collect and analyze data to identify trends and patterns: Understanding Install Indoor Air Quality Sensors In Homes helps with this aspect.
- Monitor your sensor’s readings regularly.
- Create reports or visualizations of the collected data for better understanding.
- Analyze the data to identify any recurring issues or sources of pollution.
Data collection and analysis help you make informed decisions about improving air quality.
Step 10: Maintenance of the Sensors
Maintain your sensors for optimal performance:
- Check the sensor’s battery level or power supply regularly.
- Clean the sensor and its surroundings to avoid dust buildup that might affect readings.
- Update the firmware of smart sensors as needed to ensure compatibility with new features or fixes.
Maintenance ensures that your sensors continue to function correctly.
Step 11: Troubleshooting Common Problems
Troubleshoot common issues if they arise:
- Check the sensor’s power supply and wiring connections.
- Verify that the sensor is properly calibrated and configured.
- Inspect for any obstructions or interference in signal transmission.
Troubleshooting helps you resolve issues quickly and efficiently.
Expert Tips on Installing Indoor Air Quality Sensors
- Choose the Right Sensor: Select a sensor that measures the specific pollutants relevant to your home, such as PM2.5, CO2, VOCs, and mold spores.
- Regular Monitoring: Set up regular monitoring schedules to track changes in air quality over time.
- Data Interpretation: Learn how to interpret the data correctly to make informed decisions about your home’s health.
Frequently Asked Questions (FAQ)
-
- Q: Can I install these sensors myself?
A: Yes, you can. However, if you are not comfortable with electrical work or sensor installation, consider hiring a professional.
-
- Q: How often do I need to replace the sensor’s battery?
A: This depends on the specific model, but most sensors require replacement every 1-3 years. Check the manufacturer’s instructions for guidance. Install Indoor Air Quality Sensors In Homes factors into this consideration.
-
- Q: Do I need an internet connection to use these sensors?
A: Most modern sensors can operate with or without Wi-Fi, depending on their model and features. Check your sensor’s specifications before installation.
Conclusion
Installing indoor air quality sensors is a powerful way to monitor and improve the air quality in your home. By following these 12 essential steps, you can set up an effective IAQ monitoring system that provides valuable insights into your living environment’s health. This relates directly to Install Indoor Air Quality Sensors In Homes.
Regularly review and analyze the data collected by your sensors to identify potential issues and take appropriate actions. With proper installation and maintenance, indoor air quality sensors will help you create a healthier and more comfortable home for you and your family. Understanding Install Indoor Air Quality Sensors In Homes is key to success in this area.
JV de Castro, IAC2
JV de Castro is the Chief Technology Officer at Saniservice, where he leads innovation in indoor environmental sciences, IT infrastructure, and digital transformation. With over 20 years of experience spanning architecture, building science, technology management, digital media architecture, and consultancy, he has helped organizations optimize operations through smart solutions and forward-thinking strategies. JV holds a Degree in Architecture, a Masters of Research in Anthropology, an MBA in Digital Communication & Media, along with certifications in mold, building sciences and advanced networking. Passionate about combining technology, health, and sustainability, he continues to drive initiatives that bridge science, IT, and business impact.


Leave a Reply